

If you've read my honest review of Flents foam ear plugs, you already know I hear from readers who say some version of the same thing: 'I tried foam plugs and they didn't do anything for my partner's snoring.' I believe them, and it's almost never the plug's fault. It's the fit. Foam ear plugs live or die on how they're inserted, and there's a specific way to seat one so it actually seals against the noise instead of just sitting in the outer ear looking like it's doing something.
This is the guide I wish someone had handed me the first time I was given a box of plugs and told good luck. It walks through the exact technique that makes the difference between a plug that blocks a snoring partner and one that works loose by 2 a.m., using a pair of Flents Protechs foam plugs as the working example because they're the ones on my own nightstand and because their low-profile contour shape is forgiving for anyone learning this technique for the first time. None of this is complicated. Most of it is just slower and more deliberate than how people usually jam a foam plug in and hope.
Before you try the technique below, have the right plug in hand.
The steps in this guide work with most foam plugs, but a low-profile contour shape makes them easier to practice on. That's what I use, and what's shown throughout this guide: Flents Protechs Quiet Contour foam plugs.
Amazon Check Today's Price on Amazon →Step 1: Know What Foam Can (and Can't) Block
Snoring isn't one sound, it's a mix of frequencies, and the low rumbling part of it is the hardest thing any passive ear plug blocks fully. Foam is very good at cutting the higher, sharper frequencies, a door closing, a car alarm, a dog barking, and reasonably good at knocking down the mid-range. The low, chesty rumble underneath a snore still gets through a little no matter how well the plug is seated, because low-frequency sound travels through bone and tissue, not just the ear canal. Flents lists an NRR of 33 on the package, which is the manufacturer's own lab-tested rating, and it's a strong number, but no foam plug advertises total silence for a reason.
The realistic goal with a technique like this isn't erasing the snore, it's taking the peaks off it. A properly seated plug turns a snore that jolts you awake into a low rumble your brain can sleep through, the same way traffic outside a window fades into background noise once it's quiet enough. That distinction matters because a lot of people give up on foam plugs after one bad night, decide they don't work, and go back to lying awake, when the real problem was almost always the seating, not the physics.

Step 2: Pick a Low-Profile Shape You Can Actually Sleep On
Shape matters more than most people expect before they try sleeping on a plug for real. A bulky, mushroom-topped foam plug can dig into the side of your head the moment you roll onto that ear on the pillow, which either wakes you up or trains you to sleep only on your back, not a realistic ask for most people. The Flents Protechs I use have a lower, contoured profile that sits closer to the opening of the ear canal instead of standing proud of it, which is the main reason I can side sleep in them without waking myself up rolling over.
If you're shopping around, look specifically for a slim or contour foam shape rather than a standard cylinder, and skip anything with a stem or loop sticking out unless you sleep exclusively on your back. It's a small detail on the packaging that makes a real difference at 1 a.m. when your ear is pressed into a pillow for six or seven hours straight.
Step 3: Roll It Down Thin, Then Hold It There
This is where most people shortchange themselves. The instinct is to squeeze a foam plug once, hard, between thumb and finger, and shove it in while it's still fat. That traps air pockets in the foam and it expands unevenly, which leaves gaps in the seal exactly where you need it sealed. Instead, roll it. Use your thumb and first two fingers and roll the plug back and forth like you're rolling a small piece of clay into a thin rope, working from one end to the other so the whole plug compresses evenly, not just the spot your fingers happened to squeeze.
Keep rolling until it's noticeably thin, roughly the diameter of a pencil, not just a bit smaller. It should take a good five to ten seconds of steady rolling to get there. If you're done in two seconds, it isn't rolled thin enough, and the plug is already starting to re-expand while you're moving it toward your ear, which is the single biggest reason people end up with a loose, half-sealed insertion.
Step 4: Reach Over Your Head and Open the Canal Before You Insert
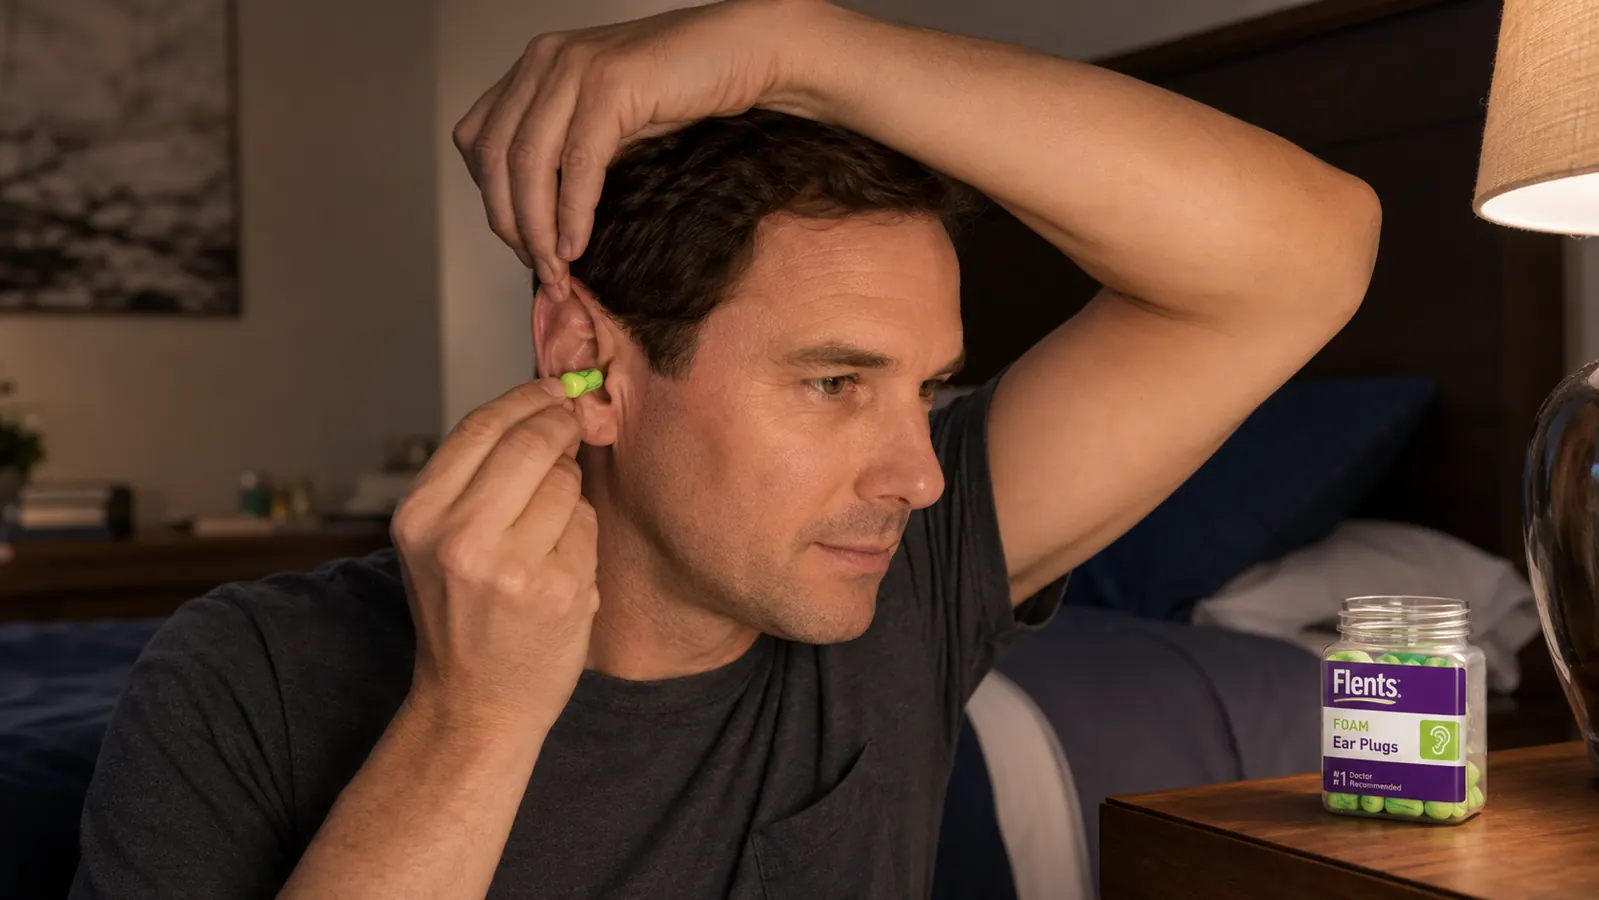
This is the step almost everyone skips, and it's the one that actually fixes a plug that 'never works.' The ear canal isn't a straight tube, it curves, and inserting a plug straight in without adjusting for that curve means the foam sits in the outer part of the canal instead of down where the seal actually needs to form. The fix is simple: reach your opposite-side hand up and over the top of your head, and use it to gently pull the top of your ear up and slightly back. For your right ear, that means your left hand reaches over your head, not your right hand reaching across your own face.
With the canal opened up that way, insert the rolled, thin plug with your other hand, pushing it in far enough that it feels snug, not painful, roughly to the point where your fingertip is close to the ear but not pressing directly on the canal opening itself. You should feel a change in pressure, almost like your ears popping slightly, as the plug seats. If you don't feel that pressure shift at all, it's usually a sign the plug went in too shallow to actually seal.
Keep the ear pulled up and back for a second or two after the plug is in, then let go slowly rather than releasing all at once. That gives the foam a moment to start expanding into the shape of the now-straightened canal before the ear settles back into its normal curve around it. It's a small detail, maybe two extra seconds per ear, but it's the difference between a plug that holds its seal all night and one that works loose by 3 a.m.

Step 5: Hold Still Through the Full Expansion, Then Test the Seal
Foam needs time to expand back to its full size, and most people move on before that's finished. Plan on holding still, or at least not talking, chewing, or moving your jaw much, for a full thirty seconds per ear after insertion. Talking flexes the jaw joint right next to the ear canal and can work a half-expanded plug loose before it's had the chance to fully seat.
Once both plugs are in and you've given them the full thirty seconds, test the seal two ways. First, cup both hands firmly over your ears for a second, the way you would to block a loud noise with your palms, then let go. If the room gets noticeably quieter when your palms come off compared to before, the plugs are already blocking meaningfully more than that, since cupped hands are actually a fairly weak seal on their own. Second, say a few words out loud in a normal voice. A properly seated plug makes your own voice sound louder and slightly boomy inside your head, almost like you're talking with your fingers in your ears, because the sound is now bouncing around a sealed canal instead of escaping. If your voice sounds basically normal, the seal isn't complete yet, and it's worth pulling the plug and reseating it using the roll-and-pull steps above.
Step 6: Layer In a Low, Steady Background Sound
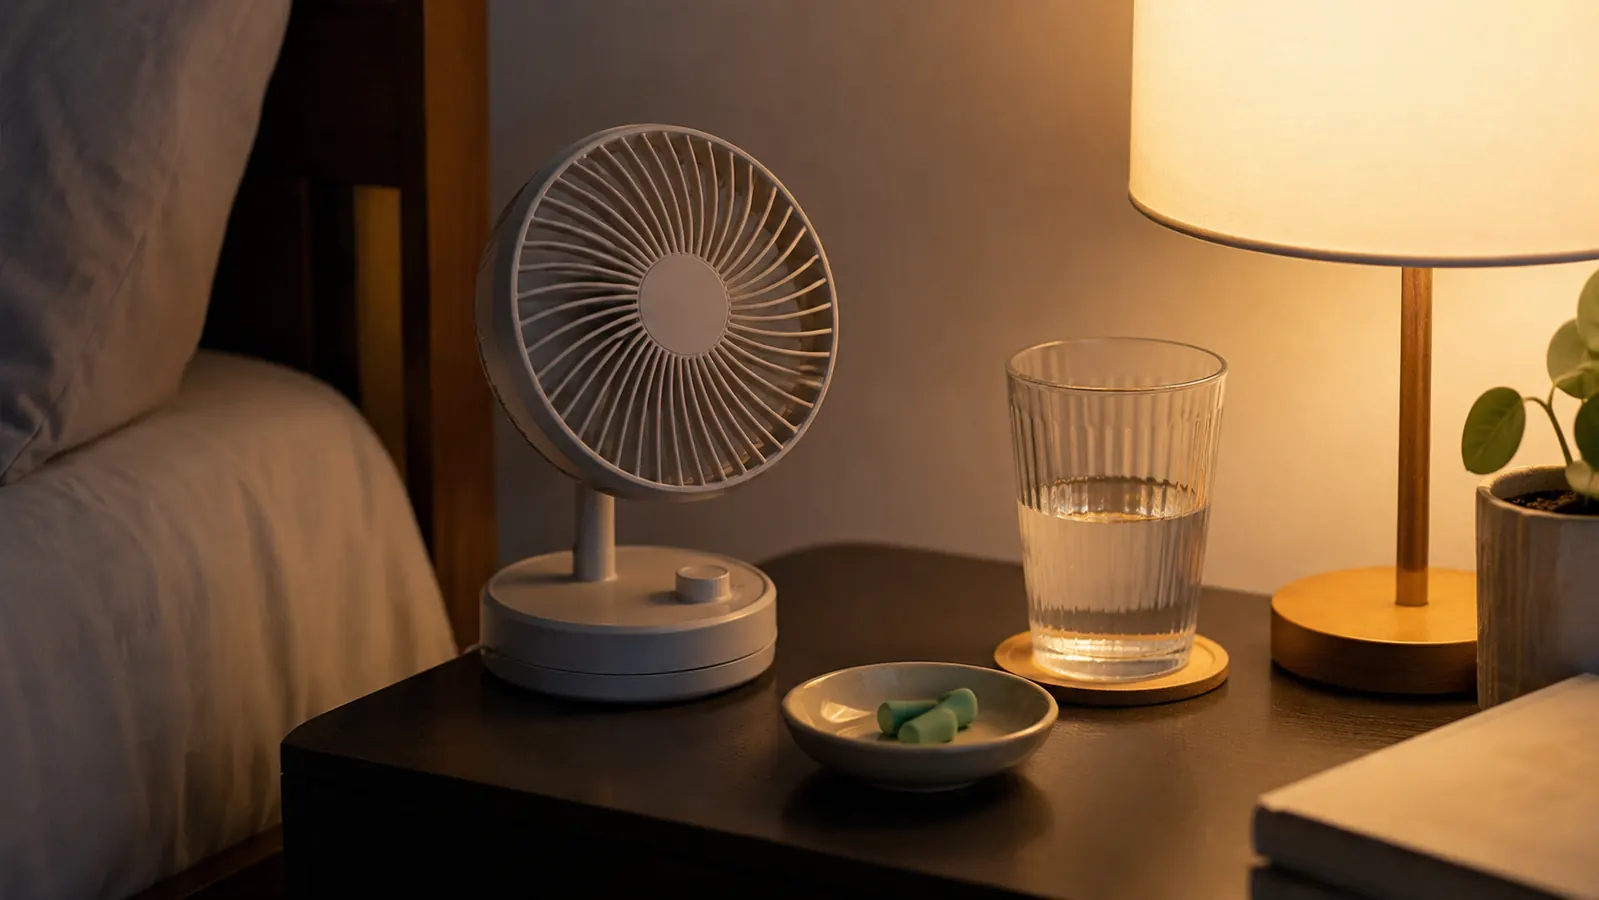
Even a well-seated plug leaves some of that low-frequency rumble in, which is where a second, low-effort layer helps. A small fan on low, a white noise machine, or the low hum of an air purifier gives your brain a steady, boring sound to lock onto instead of the irregular, on-off pattern of a snore, which is honestly more disruptive than volume alone. The gaps and restarts in snoring are what make it hard to tune out. A steady hum smooths that unpredictability into something the brain files as background noise almost immediately.
This isn't a replacement for a properly inserted plug, it's a second layer on top of one. I've tried the fan alone and the plugs alone on different nights, and neither did as much as running them together. The fan covers some of what the plug's seal doesn't fully catch, and the plug knocks down the fan's own hum along with everything else, so the combination ends up quieter than either piece on its own.
What Else Helps
Technique matters most on night one, but a routine is what keeps it working. Wash your hands before rolling a fresh pair, keep a small dish of clean ones on the nightstand, and replace a pair once the foam feels tacky or slow to expand rather than trying to stretch a single set across a full week. I go into more of the wear-and-tear side of that habit, including how often I actually swap pairs and what a worn one feels like compared to a fresh one, in the honest review I wrote after using Flents past the point where I stopped being generous about the tradeoffs. And if you're still on the fence about making foam plugs a nightly habit instead of just an emergency tool for bad nights, the ten reasons I ended up sticking with them cover most of the actual, unglamorous payoff.
One honest caveat, since this whole guide is about getting the most out of a plug: if a partner's snoring is loud enough that even a well-seated plug and a fan don't touch it, or it comes with gasping, choking sounds, or long pauses in breathing, that pattern is worth raising with a doctor rather than trying to solve with earplugs alone. Plugs handle the noise. They don't do anything about what might be causing it.
Most people who say foam plugs don't work for them have never actually gotten one to seal. That's not a product problem, it's a thirty-second technique nobody ever taught them.
The technique is free. The plugs run about six dollars.
Once the fit is right, a foam ear plug stops being something you fight with every night and starts being something you barely notice. Flents Protechs are the pair I use to demonstrate every step above, and a large pack means there's no reason to ration the practice.
Amazon Check Today's Price on Amazon →